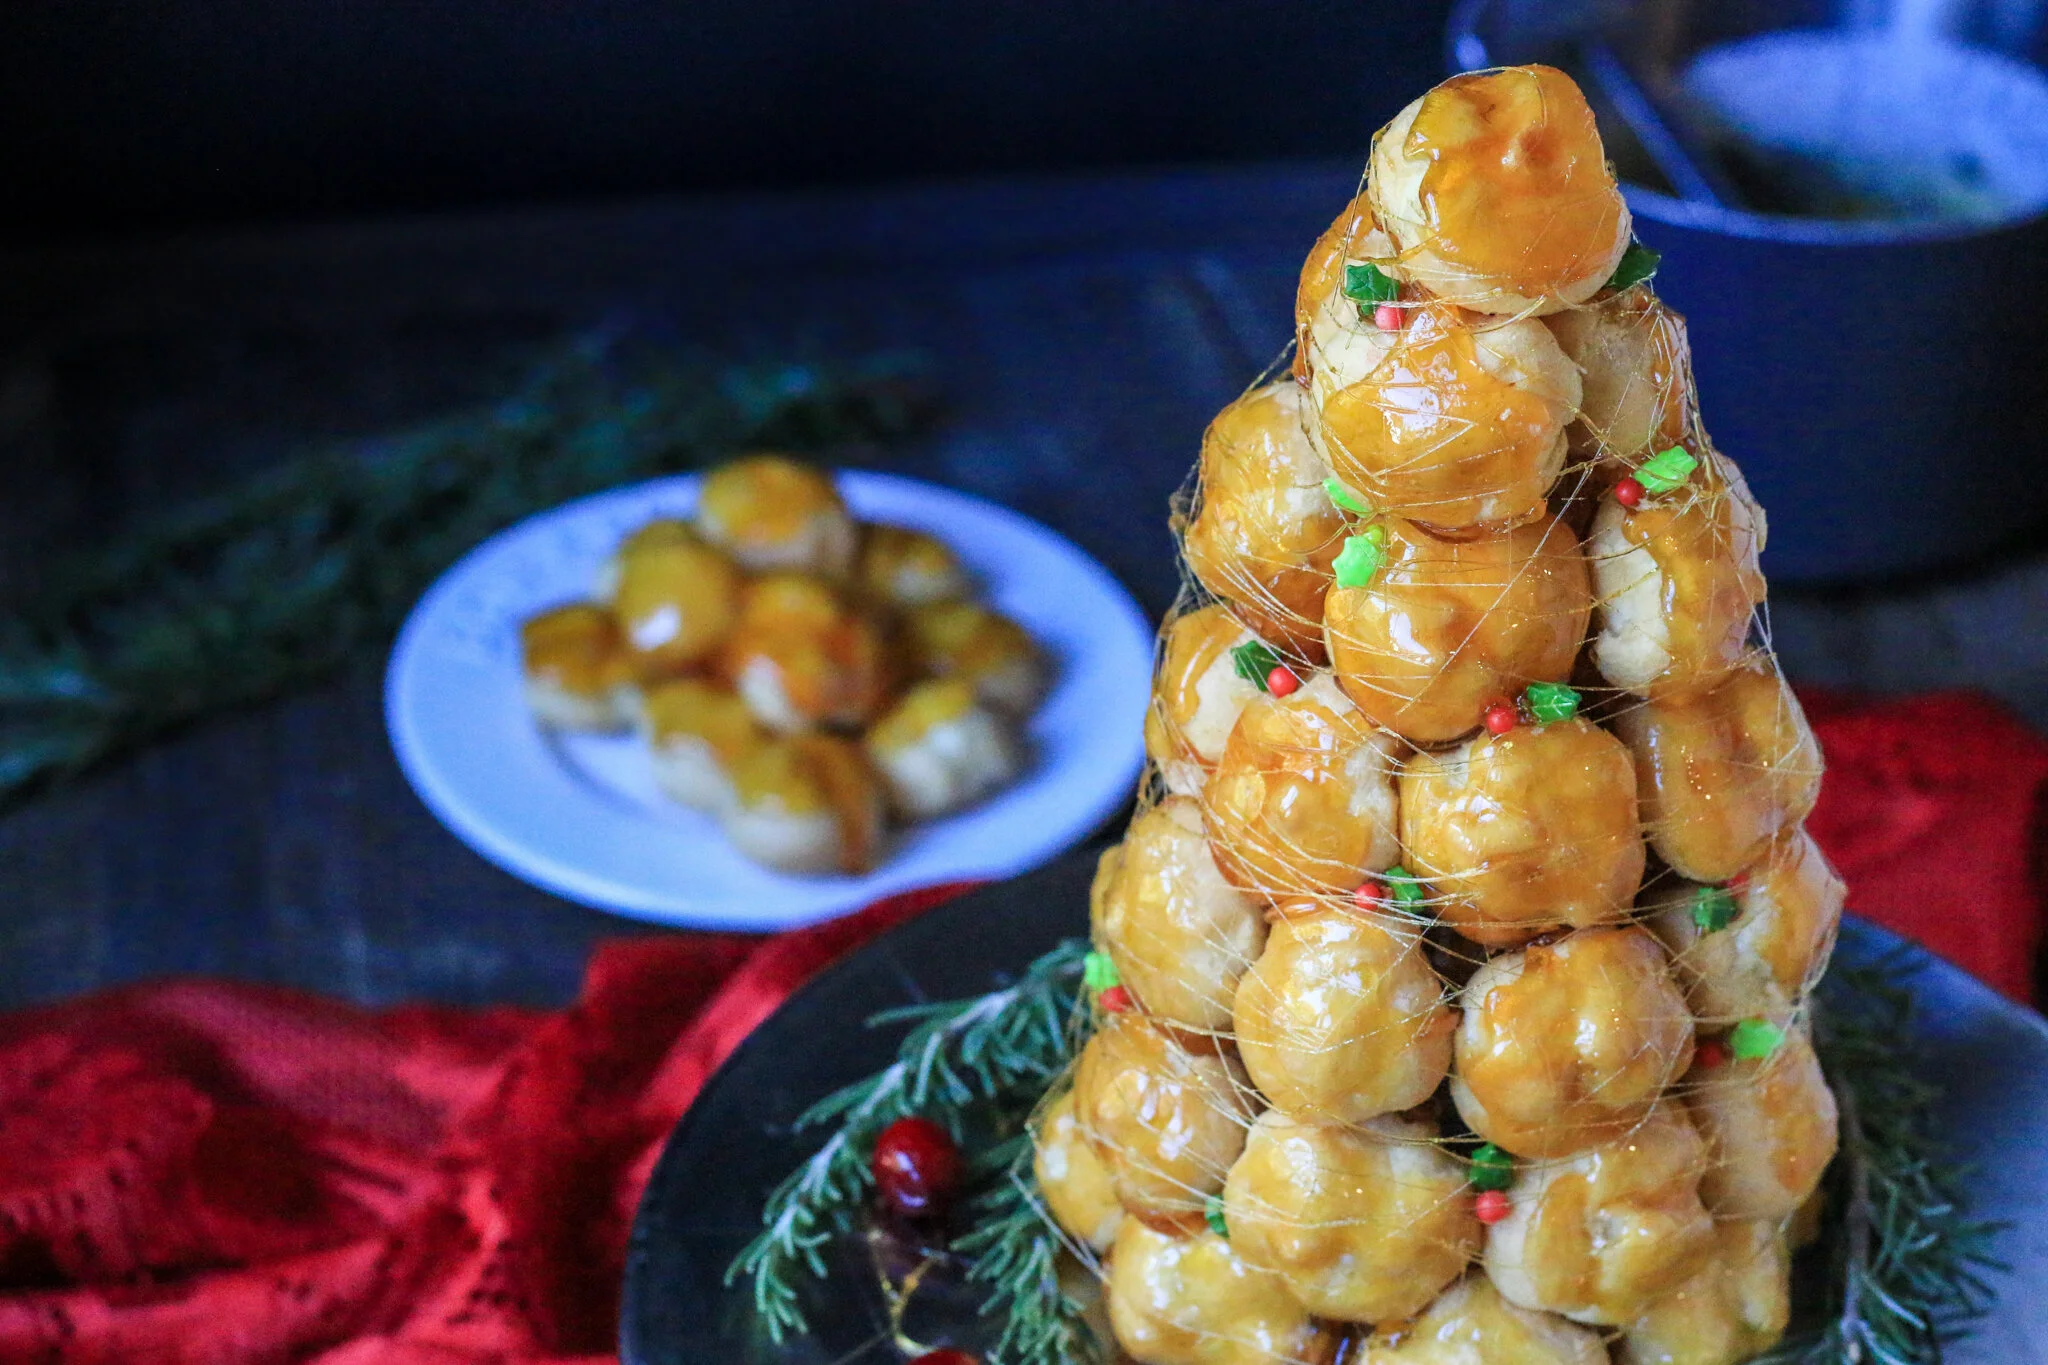
Croquembouche Using Premade Cream Puffs
The holidays are a time to flex your baking skills. It’s usually cold outside and most people have an abundance of time on their hands (this year with not a lot of places to go), so it makes sense to warm up the house by turning the oven on and starting on a fun new project. A croquembouche is a show-stopper type of dessert. It’s a tower of cream puffs, glued together with caramel sauce and is absolutely stunning, not to mention delicious.
I opted to use premade cream puffs because honestly, you can get some pretty dang good store-bought ones so why the heck not? If you are feeling up for a bigger baking project, you can check out my recipe for Baileys cream puffs here and use them in place of the premade ones called for in the recipe below.
I used mini cream puffs and decided to make a small croquembouche considering large holiday gatherings are not happening this year, but feel free to adjust the recipe below simply by doubling the amount of cream puffs or using larger ones if you want it to feed more people. There is plenty of caramel so you don’t need to adjust that part of the recipe.
Croquembouche Using Premade Cream Puffs
Prep time: 40 minutes
Cook time: 20 minutes
Total time: 1 hour
Yield: serves 4-6

INGREDIENTS
~35-45 mini cream puffs (sometimes referred to as profiteroles) *see notes
3 cups granulated sugar
2 tbsp. light corn syrup
2/3 cup water
Christmas candies, rosemary sprigs, cranberries, etc. for decorating (optional)
*If you use regular-sized cream puffs you could choose to use less of them to have this recipe feed 4 people, or you could make a large croquembouche than I did, and use the same amount or regular-sized cream puffs. You do not need to make more caramel sauce since this recipe tends to yield extra
DIRECTIONS
Place sugar, corn syrup and water in a medium saucepan and stir to combine. Bring to a light boil, and continue to cook over medium heat until a light amber colour is achieved, around 20 minutes. Remove from heat.
Line a baking sheet with parchment paper and dip the top of the cream puffs into the caramel sauce one by one, placing them caramel side up on the prepared baking sheet. Be careful when you do this because the caramel is very hot! It’s easy to start moving too quickly and burn your fingers on the caramel (I did this multiple times). Let the caramel coated cream puffs cool and slightly harden for 20 minutes before assembling the croquembouche. If your caramel begins to thicken too much as it cools at any point, place it back on the heat over medium-low until it reaches the right viscosity. Be sure to keep a close eye on it so that it doesn’t burn while reheating.

Assemble the croquembouche directly on the vessel you want to serve it on. This could be a cake stand or a regular dinner plate (as long as it’s flat). If you don’t care about cutting into the croquembouche to serve it, feel free to “cheat” and place a tumbler sized glass in the middle of your serving vessel. This will be a lot more stable and easier to build than without, but it’s up to you on how adventurous you feel!
Dip the sides and the bottom of each cream puff into the caramel, and form the base of the tower by creating a large circle of cream puffs, all glued together with caramel, with the prettier tops of the cream puffs facing outward. Repeat this process, creating a second, slightly smaller circle that will sit on top of the first one, and then a third, and a fourth, etc. Each layered circle becomes slightly smaller than the last, creating a cone-shaped tower with a single cream puff on top.
At this stage, use any extra caramel to decorate. Dip Christmas candies, whole cranberries or small rosemary sprigs in the caramel and glue them all over for embody the holiday theme. For an extra fancy touch, dip a fork in the caramel and once it’s dripping, begin to spin the caramel all around the croquembouche from the base to the top to create a delicate sugary nest. You might need to reheat the caramel to get it just thin enough to drizzle.